Hi friends! There are a couple of different ways to mirror stamp an image, but it usually involves using a stamp positioner tool. Stampin’ Up! does not currently sell one, but I’ve recently discovered a new technique that only involves your stamp, ink, and a silicone crafting sheet. If you don’t already have a silicone sheet, they’re a great, inexpensive addition that allows you to minimize mess on your workspace. Glue and adhesive easily peel off the silicone surface and don’t stick to everything!
Sometimes you might have a stamp where the animal is looking to the left. What if you want it looking to the right? Then you want to make a mirror image, which is a copy of your original image, only it faces the other direction. Let’s take a look at how this technique works.
- Ink your stamp and stamp your image on your piece of paper. I do recommend practicing first on a piece of scrap paper to get a feel for how it works.
- Ink your stamp again, and stamp the image right onto the silicone sheet.

- Take your scrap paper, turn it over and lay it on top of the stamped image on the silicone sheet. Rub over the paper so the ink on the silicone sheets transfers to the paper.
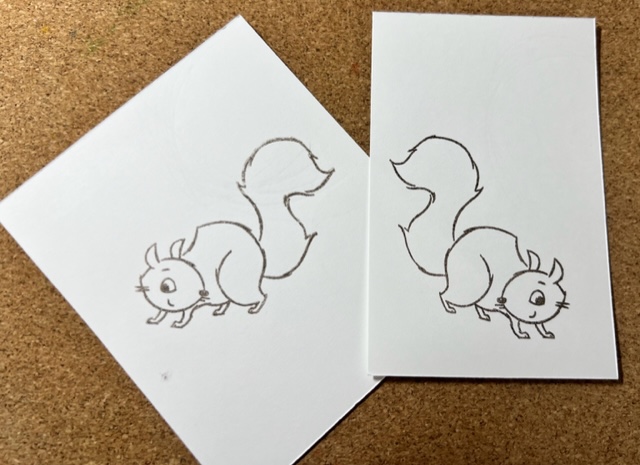
- The end result is that you get a mirror image. The squirrel on the left is the mirror image of the squirrel on the right. It can take some practice to get an image you are satisfied with. This is a great way to use up your cardstock scraps as well; just die cut or fussy cut out the images to use on your cards.
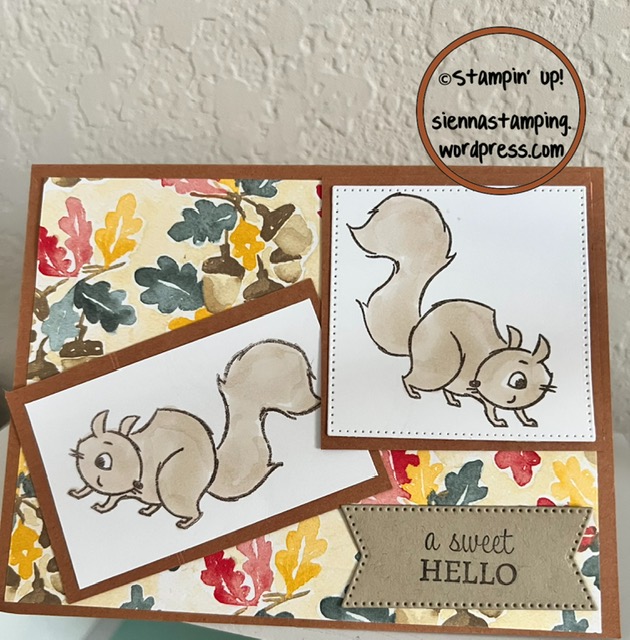
Here’s my final card- I colored in the squirrels using Stampin’ Blends and framed them with the same color cardstock as the card base.
Let me know if you use this method! I’d love to see what you create!
Happy Stamping!
Jen
Sign up here to be added to my email list! I send out a weekly newsletter filled with ideas, techniques, tips and the latest Stampin’ Up! news delivered right to your inbox.


Leave a comment