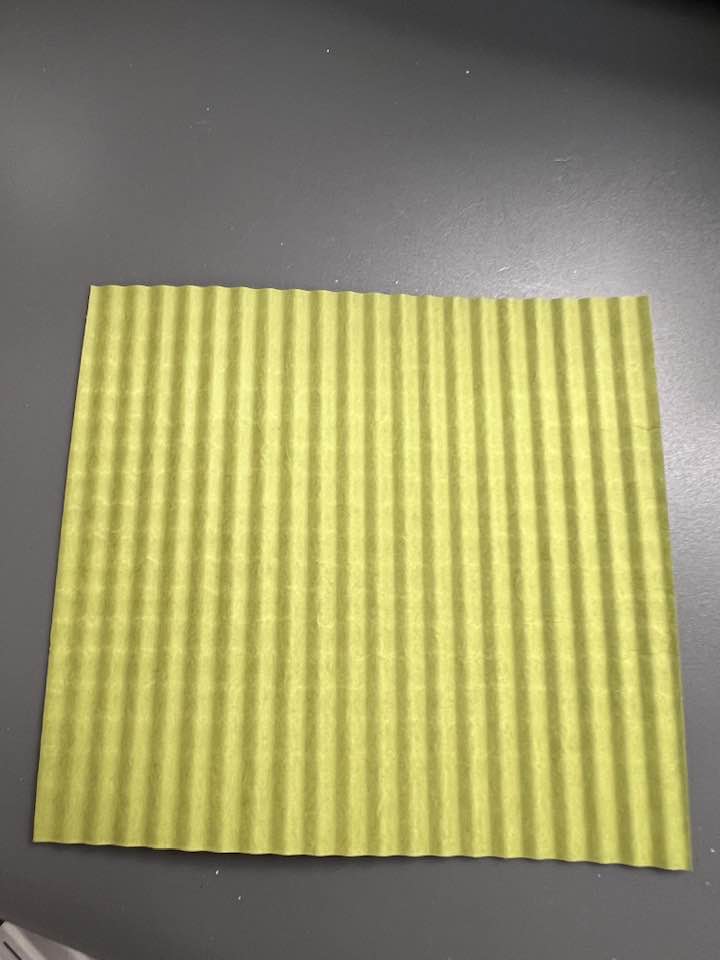
I’ve always been drawn to corrugated paper- I love the texture it brings to a card, and there’s just something about crinkly paper! So the Mini Corrugated 3D embossing folder is something I knew I’d need to play around with! Listed below are 15 different ideas you can use for your card designs.
- Use as a card mat. I typically use basic white cardstock, but a corrugated card mat steps up the color in your DSP.

2. Use on DSP. Don’t limit to just cardstock! I do recommend lightly misting your DSP with water to avoid cracking. The Stampin’ Spritzer works great to produce a fine mist.
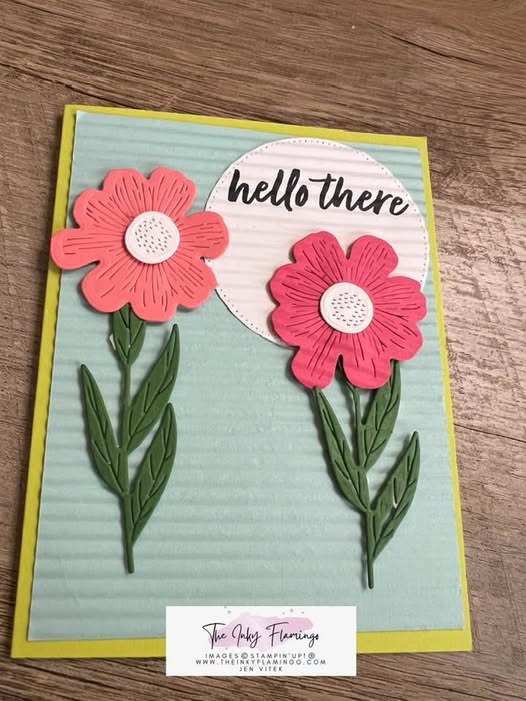
3. Use as a small accent piece. It can add layers to your card front and provide a focal point that your eye is immediately drawn to.
4. Lightly use a blending brush to go over your embossed piece. This is a great way to add light and dark shades of color to white cardstock. For this piece, I used pool party ink on basic white cardstock. I love the variation in color it produces!

5. Use Stampin’ Write markers (brush tip end) and a ruler to draw lines on your embossed cardstock to create stripes. This was my least favorite technique, but I didn’t try it on white, which I think may yield better results.
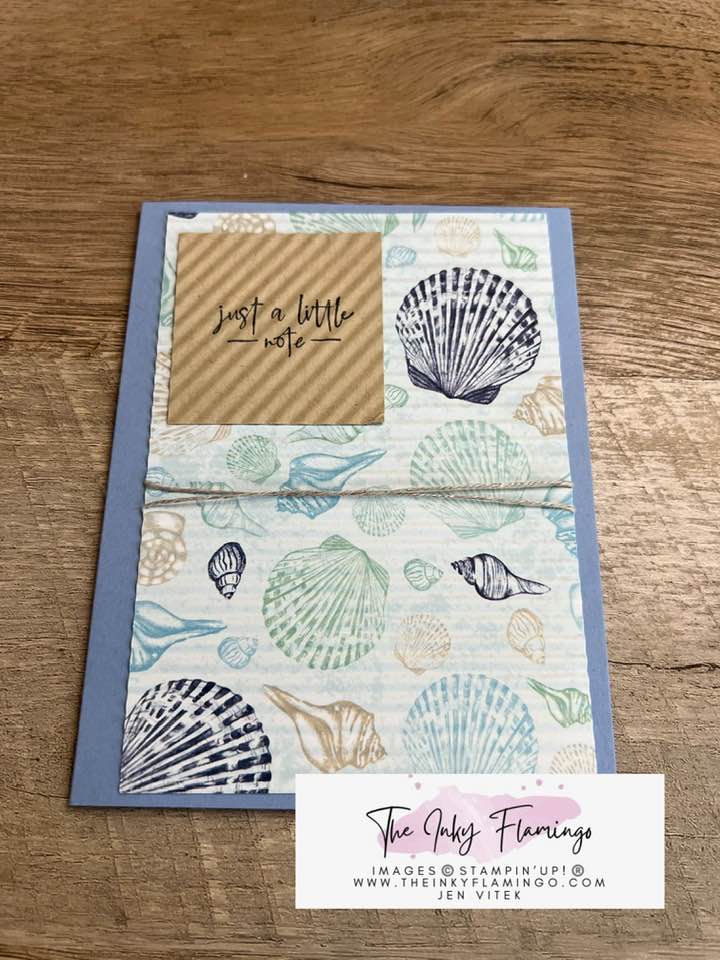
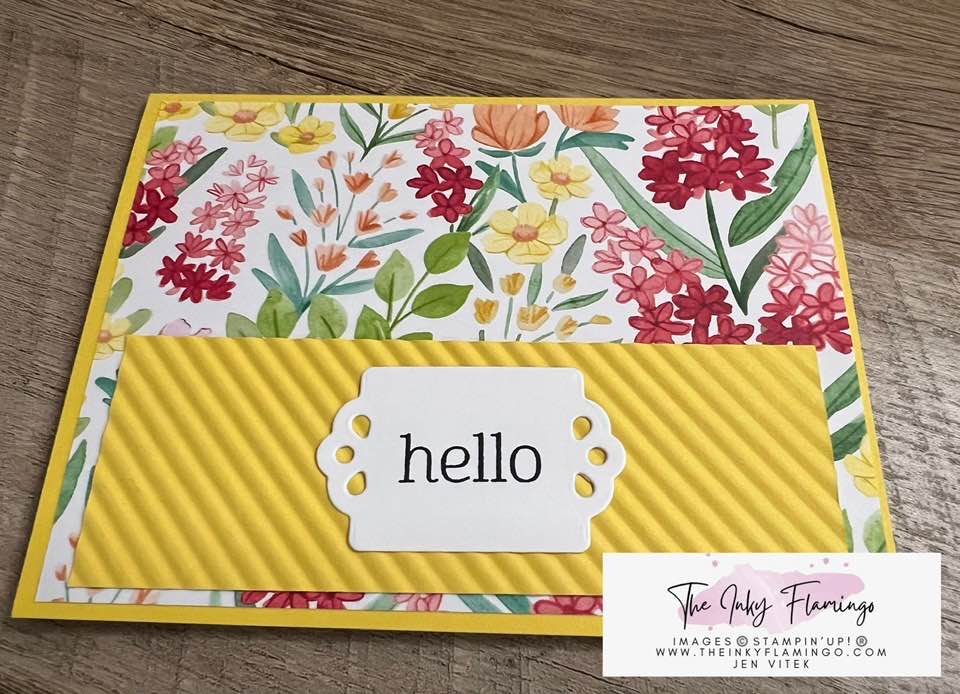
6. Turn your paper on a diagonal before embossing it. There’s no rule that says it must go in horizontal.
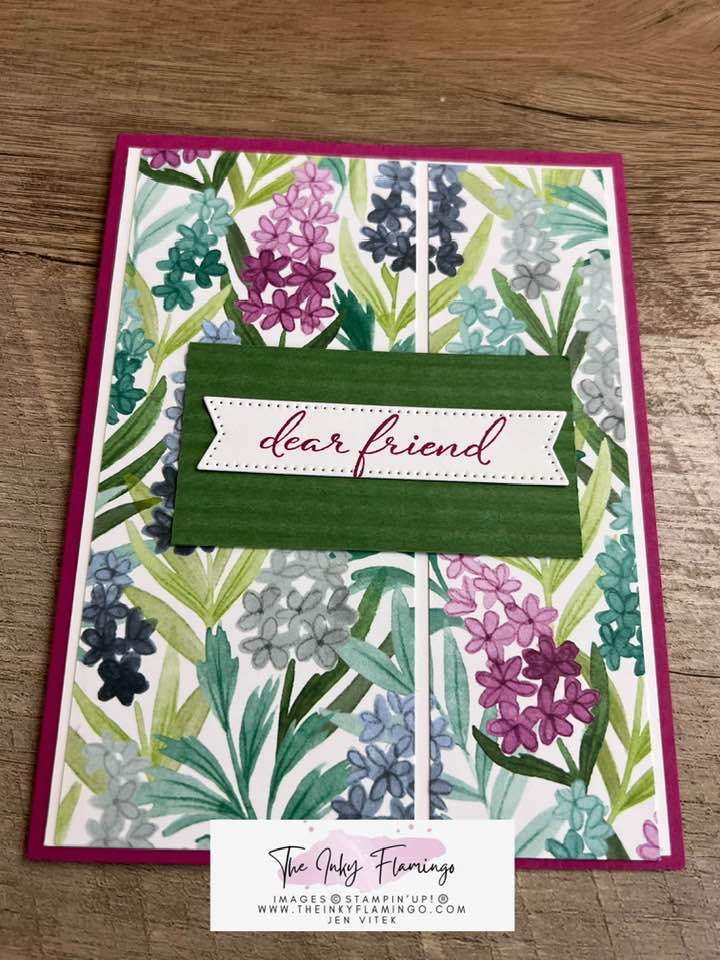
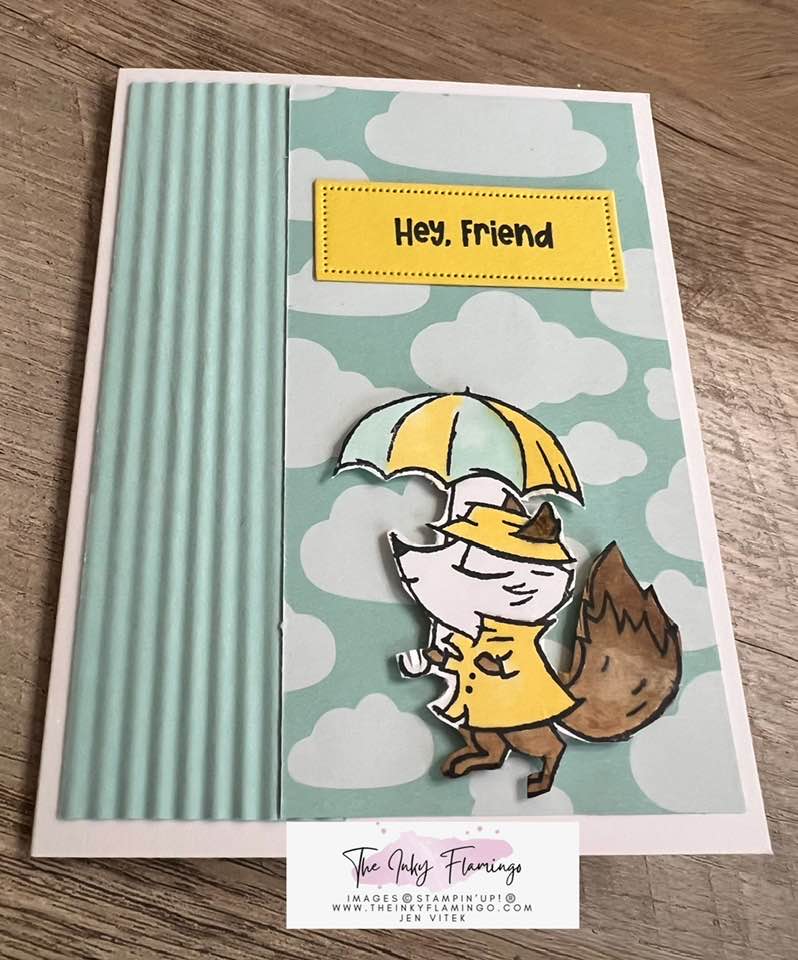
7. Emboss only the edge of the card. Experiment with using the ridges both vertically and horizontally. This card shows vertical; click here for a card that uses horizontal ridges.
8. Use your corrugated pieces for die cutting. This can include the shape you stamp your sentiment on, flowers, leaves or just any die you want to give dimension to. I recommend stamping before embossing, as the ink can smear if you try to stamp on embossed cardstock. Don’t be afraid to layer your corrugated pieces.
9. Emboss, then tear your two-toned cardstock. Our two-toned cardstock has a white core, so when you tear it along the side, top or bottom, the white core will show through, and can give you a nice design on your card. As with DSP, be sure to lightly mist your two-toned cardstock and allow to dry fully before embossing.
10. Lightly sand your two-toned cardstock. After embossing, take a piece of fine sandpaper and light go across the top of your cardstock. Again, you’ll see some of the white core show through, and can give it a weathered or rustic look.
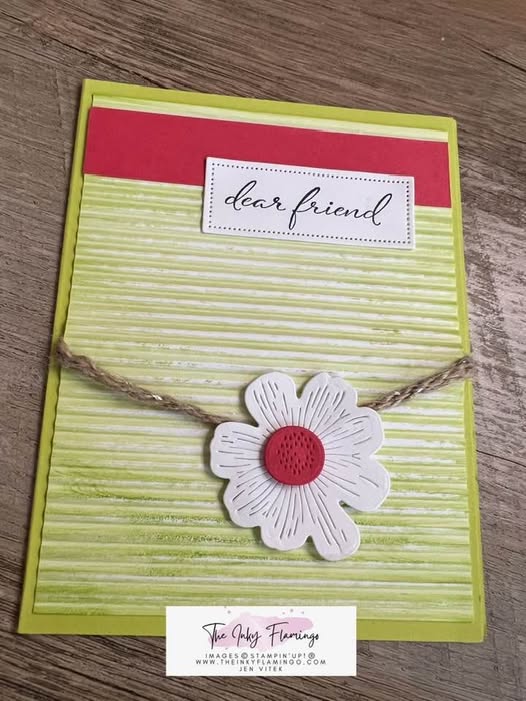
11. Ink up the front side of your embossing folder before embossing. Apply ink with a blending brush and emboss. To clean your folder, rinse off with water. For this card front, I used granny apple green ink on basic white cardstock.
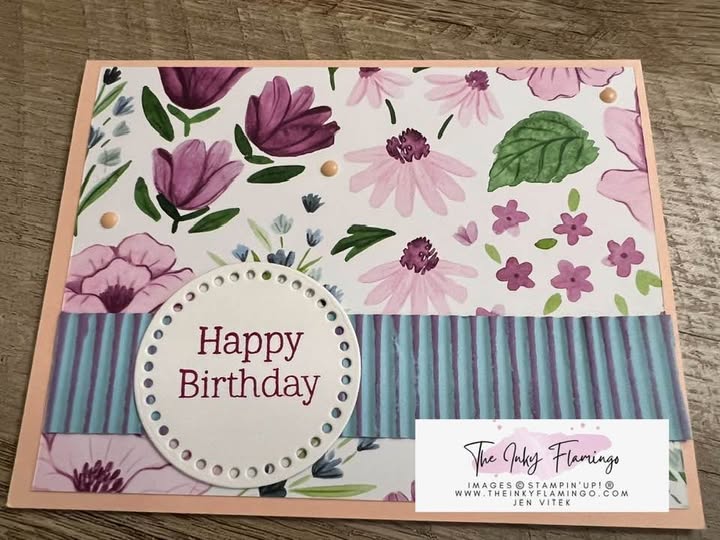
12. Lightly run your ink pad over the ridges. It’s best to go in the direction of the corrugated stripes. This is fresh freesia ink on balmy blue cardstock.
13. After embossing, turn your cardstock 90°and put back through the embossing machine the other way. For example, if you have horizontal ridges (left to right), turn it so that your second run through will give you vertical ridges (up, down). In the photo, the ridges going down represent the first run through. If you look closely, you can see the horizontal ridges, but they’re not as pronounced as the original ones. This double embossing does give more dimension to the embossed piece.
14. Use an embossed card mat to cut out shapes using dies for a peek-a-boo card. This is a fun card to make.

15. Look online for inspiration! The mini corrugated folder is an online exclusive, so you won’t find it in the catalog. Click here to see two examples of cards using this folder on the product page, and check out Pinterest for several examples of card designs using this folder.
I hope this gives you some ideas to use with this versatile folder! I’d love to connect with you with email: click here to sign up to receive my newsletter, you can unsubscribe at any time if you feel it’s not your thing!
Happy Creating!
Jen


Leave a comment