Hello friends! Imagine this scenario: you want to cut out a small die cut, but then you realize you ran out of adhesive sheets. Oh no! I am definitely not Team Glue, and I feel adhesive sheets are the best way to apply your smallish die cuts to your card surface. But do not fear! Today’s tip involves applying glue to whatever surface you need it on. I want to share with you a cool hack that uses a kitchen tool!
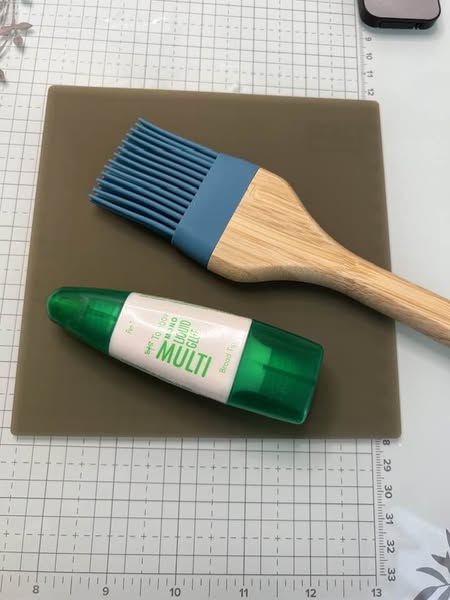
Next time you make a run to he dollar store, pick up a silicone basting brush. Yes, really! I picked up mine from Walmart; thus the wood handle, but a plastic handle one is just fine. You’ll also need liquid glue and a silicone mat.
Cur off most of the bristles. It should look something like this:
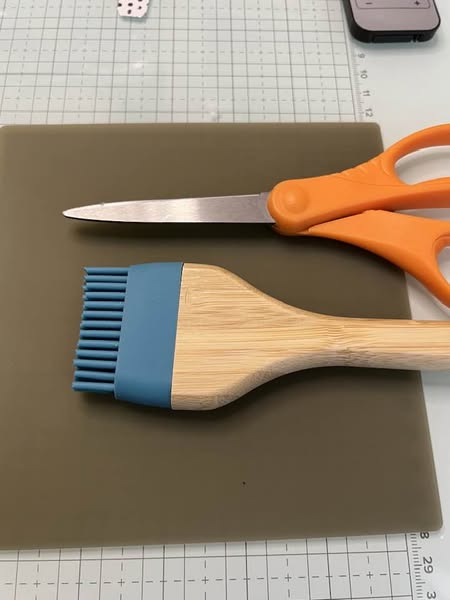
Put a small amount of glue on your silicone mat, dip the brush into it, and apply the glue to your die cut or paper. You’ll find that you use less glue, which not only saves you money, but there is less mess overall. By cutting the bristles down, you have more control over where the glue goes.
To clean, you can wash under water if you need the mat again for a different purpose, or you can let the glue dry and just feel peel it off for an easy clean-up.
If you try this tip, I’d love to know your thoughts!
Happy creating!
Jen


Leave a comment