Hello friends! Here’s a fun way to add dimension and texture to your next card design! I love using embossing folders, but there are times you want something a little different. You know? 😁 If you’re like me, you have dies in your collection that are rarely (or never! 😮) used. Yesterday I experimented with using a die to make a dotted background, and I kind of love the end result.
If you don’t have the particular die or stamp set I used, no worries 😉 You can absolutely use any die and stamp set you have in your stash to recreate the ideas I used and make it your own card!
The die I used is from Every Day Details, a retired Stampin Up set. I did not have a stamp it coordinated with, and I wasn’t really sure what to do with it.

I cut a piece of card stock to 4” x 5 1/4”, and positioned the die on it and ran it through my machine five separate times, repositioning the die after each cycle. I did not measure with a ruler but just eyeballed it.
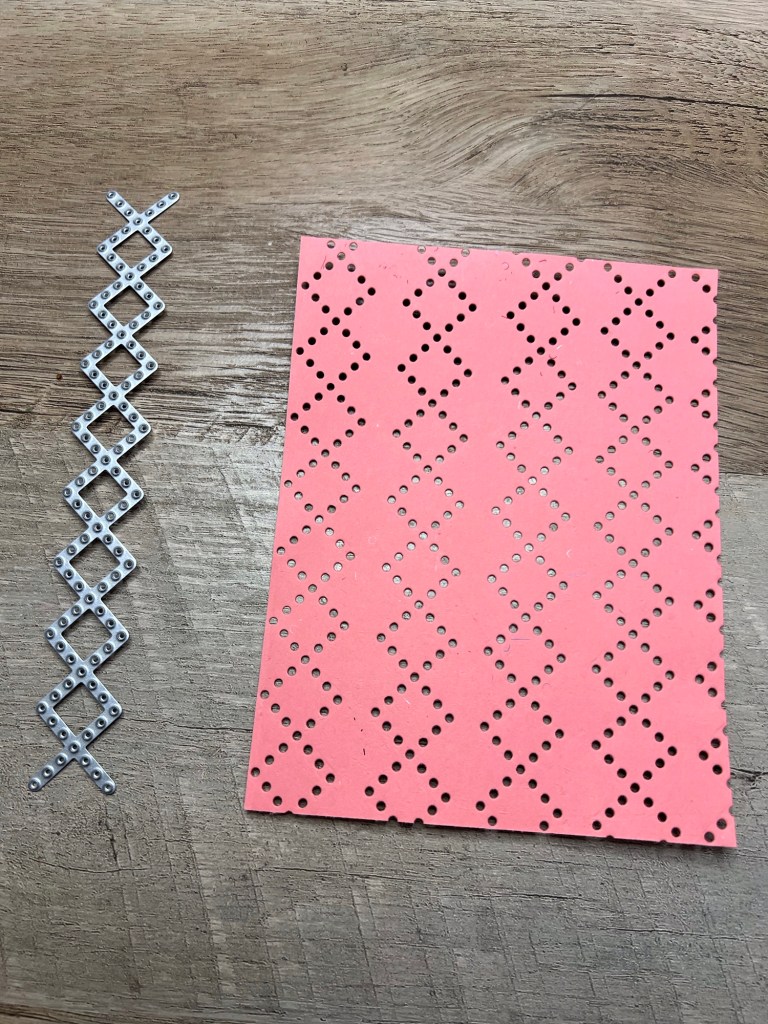
I used the empty space between the rows to apply my adhesive and attach it to my card base, which measures 4 1/4” x 5 1/2” (A2 size).
The obvious problem with this technique is that it is time consuming, depending on the size of your die. For this reason, I don’t recommend using this method if you have a large quantity of cards to create.
To finish the card, I used a piece of DSP that measures 3 1/4” x 4 1/2” and attached it to the front at a slight angle. I cut a rectangle from the same die set in white cardstock: the die measures 3 1/4” x 1 3/4”.
The sentiment and dragonfly are from a retired Stampin Up set called Happiest Day. I stamped the dragonfly on a separate piece of white card stock, fussy cut it out and added a little shine to its wings with Wink of Stella. I then used mini dimensionals to pop it up next to the sentiment.

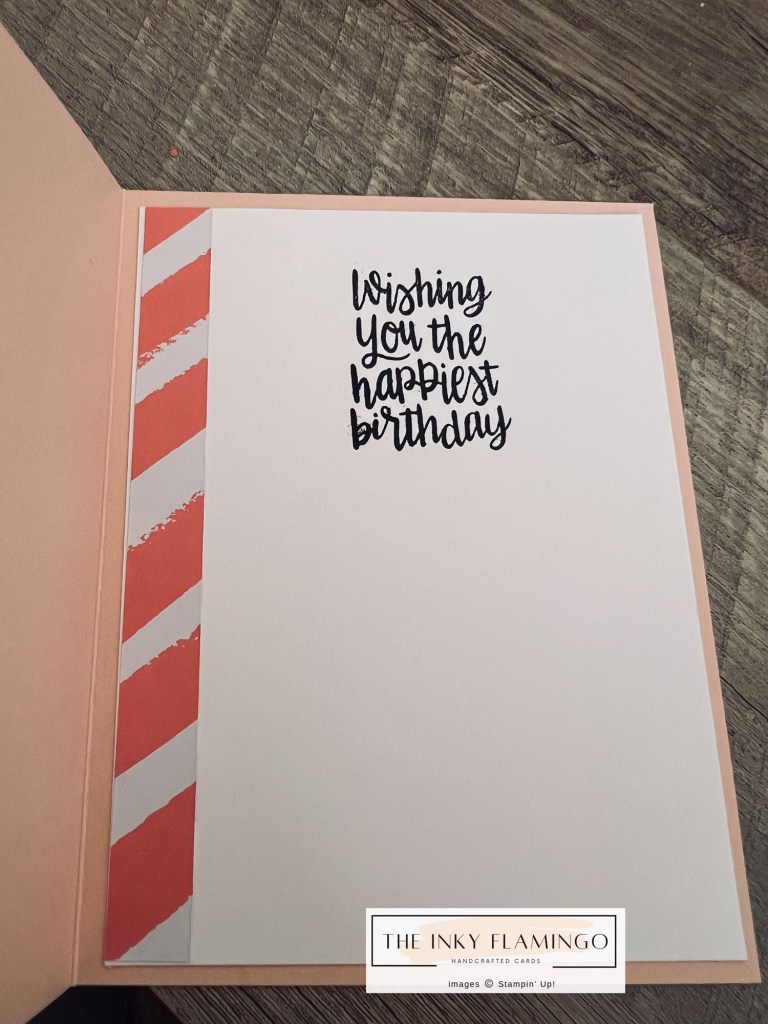
Here’s a peek at the inside of the card:
I would love to see any cards you create with this technique, so feel free to share 🙂.
Happy Creating!
Jen


Leave a comment