Hello friends! Today I want to share with you the first fun fold card I learned to make! It’s called an accordion fold, and there are many variations to this design, so you will find alternate cards that are similar.
Supplies Needed:
- 5 1/2″ x 11″ cardstock
- 3″ x 7″ cardstock
- 2 pieces of DSP that measure 1 1/2″ x 5 1/4″
- 2 pieces of DSP that measure 3 1/4″ x 2 3/4″
- Different pattern DSP 3″ x 3″
- basic white cardstock 3″ x 3″
- Basic white cardstock 3 3/4″ x 5 1/4″
- stamps, ink, adhesive, bone folder
Instructions:
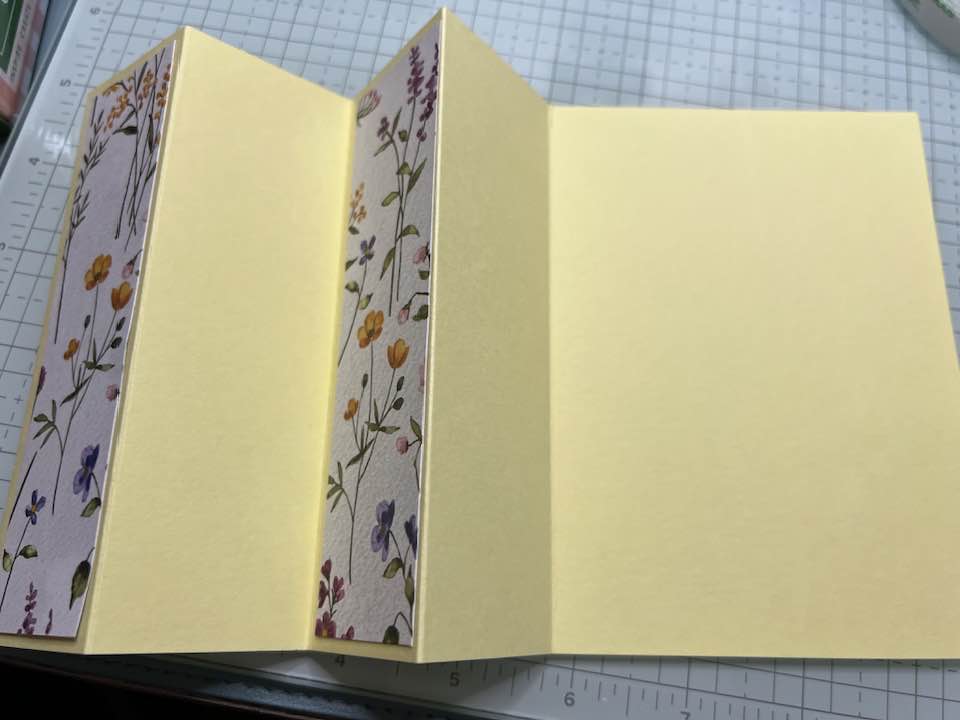
- Score your 5 1/2″ x 11″ cardstock at 1 3/4″, 3 1/2″, 5 1/4″, and 7. Using the bone folder, fold on the score lines.
- Attach your 2 strips of DSP that measure 1 1/2″ x 5 1/4″ on your card on alternating folds. See picture below:
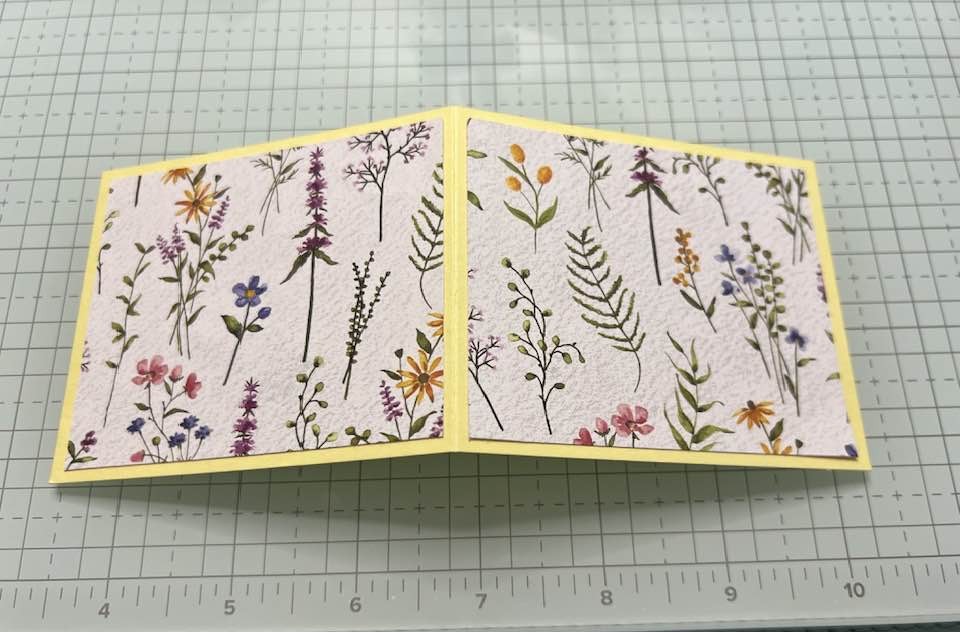
3. Take your 3″ x 7″ cardstock and score at 3 1/2″. Use a bone folder to score.
4. Attach your two pieces of 3 1/4″ x 2 3/4″ DSP to each side.
5. You are going to glue this piece to your card on panels 1 and 4. (See pictures). Center it on the first panel, then use adhesive only on the part that touches the first panel.

6. Once attached on the front panel, adhere to the 4th panel. I find it’s easiest to do this if you put adhesive, position where you want it, then close the card for a good seal. You’ll notice that I added a little die cut to this side. Feel free to add extra embellishments and die cuts to your card!

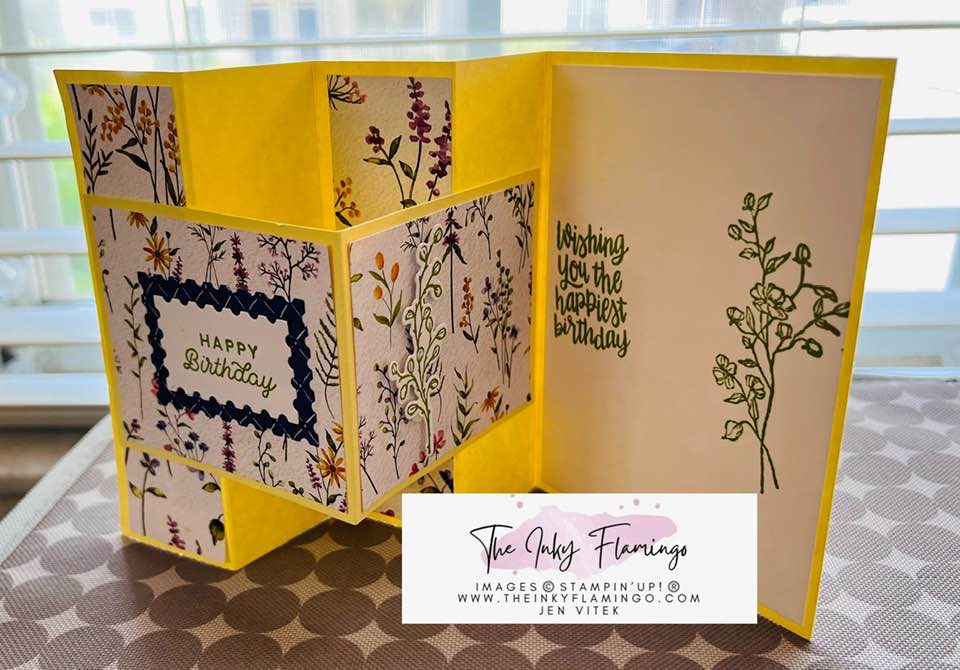
7. Add your greeting to the front of you card: take your small piece of DSP and either die cut a shape from it or simply glue it down to the front. My piece measures 2 1/4″ x 1 1/2″, but it can be as small or large as you like.
8. Stamp your greeting on to the 3″ square of basic white cardstock. Again, you can either die cut it out or simply use as is. You’ll want it to be smaller than your DSP, so your DSP is visible. My piece measures 1 3/4″ x 1″. Attach to your DSP.

9. On your remaining piece of basic white cardstock,, stamp your sentiment on the left hand side. On the right hand side, stamp a floral image (or whatever corresponds to your card’s theme). The right image will be able to be seen from the front, whereas the sentiment will not. You could also add a strip of DSP instead of stamping on the right side. (1″ x 5 1/4″)
10. Adhere to your card. This should always be your last step, to save on paper and frustration if you make a mistake! It’s easier to redo and replace the white cardstock than to have to start over.
I hope you enjoyed making this card! The great thing about making your own cards is that you select colors and papers that you know your recipient will enjoy. Please let me know if you have any questions; I would love to help you and I would love to see your finished cards!
Have fun creating!
Jen


Leave a comment