
Hello crafty friends! Today I’m going to be posting a tutorial for Wreath Design- how you can use the stamps you already have to create a beautiful, unique wreath!
You’ll want to practice on scrap paper first. It isn’t hard to create a wreath on paper, but it not as easy as stamp and go! You need to stamp in layers, and be careful to not transfer excess ink to your paper. Ask me how I know! 😄
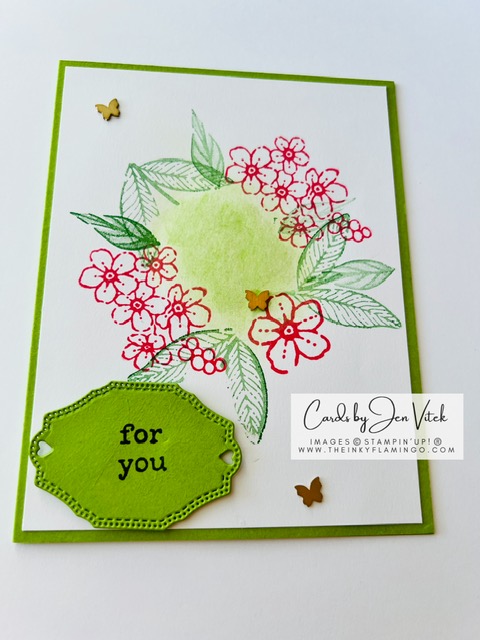
Start by drawing a circle in the center of your white cardstock. I used a 2 1/4″ circle die, and traced the inside of it. You can use anything circular, as long as it doesn’t exceed 3″ wide. The drawing doesn’t need to be perfect- you will be erasing any visible pencil lines after stamping.
I used my biggest stamps to add the leaves and bigger flowers. My biggest tip for the leaves is to use a light green ink color, or stamp off on scrap paper first before you stamp on your circle. I used Garden Green ink in this example, but next time I would choose a lighter color.

I then filled in the smaller leaves and added a bigger flower towards the bottom of the wreath, which helped to balance it.

To help cover up the smudges, I used a green soft pastel in the center, topped with a layer of Wink of Stella. Butterfly embellishments completed the look.

You can download the full tutorial here or at the top of my page under Tutorials. Please reach out if you have any questions, and I’d love to see the wreaths you create!
Happy Stamping!
Jen


Leave a Reply