
Hi friends! Today I’ll be sharing a technique tutorial (instead of a card tutorial). Faux Metal Stamping is a unique way to either add accents to your card, or simply become the card front! It transforms cardstock into a realistic metallic-looking surface using layers of heat embossing powder and a stamped impression pressed into the melted finish. The result adds incredible texture and shine to handmade cards.
The common colors of metallic embossing powder are gold, silver, copper, bronze, pewter and platinum. I used a metallic marigold powder, which surprised me because I didn’t realize it was metallic when I purchased it. Not sure if your powder is metallic? It often doesn’t say on the label, so try a heat test: it often looks like real metal when melted, reflects light, and has a mirror-like shine. Regular powders often have translucent color rather than solid metal coverage, look sparkly or glittery instead of smooth, and are dry with a satin or pearly finish.
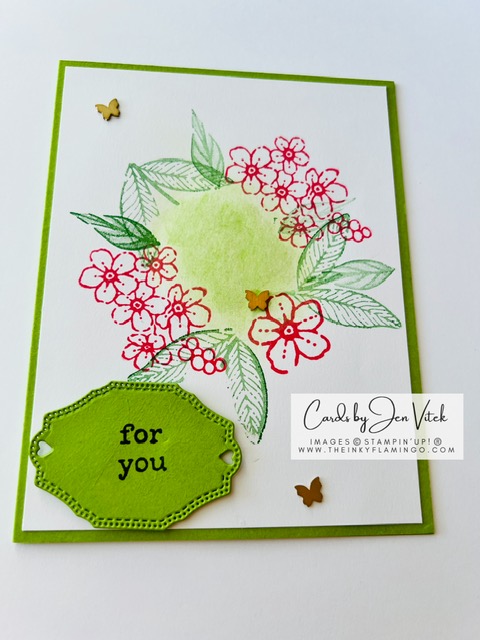
I used a floral stamp with my marigold embossing powder with this result. It is recommended to use red rubber stamps for the best image, but this was tested with a photopolymer stamp and I think it performed well.

Download the tutorial to receive step-by-step instructions:
I envision this being a great technique to try for Christmas cards! Use silver metal embossing powder to create small motifs like bells, trees, or ornaments.
Give it a try and see what you think!
Happy Creating,
Jen


Leave a Reply